Download PDF
CREATING AN EXPENSE REPORT
- Visit financials.onesource.uga.edu and log in using your UGA MyID.
- Click the “Expenses” tile.
- Click the “Create Expense Report” tile.
GENERAL INFORMATION
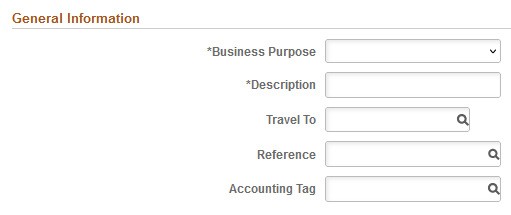
- Select applicable option from the “Business Purpose” drop-down menu.
- Enter a brief description of the travel purpose in the Description field (e.g., “ABC Conference”).
- Enter your travel destination in the “Travel To” field. For US states, type the state name first. For international locations, type the country first.
- If you have your speedtype, enter it in the “Accounting Tag” field, then click “Accounting Defaults” and enter the current fiscal year into the “Bud Ref” field.

- If you have a chartstring instead of a speedtype, click “Accounting Defaults” and complete the fields. If you do not have accounting info, contact your business manager.

- Although receipts can be attached on this page, it is better to attach receipts during a later step, when entering individual expenses.
ADDING EXPENSES
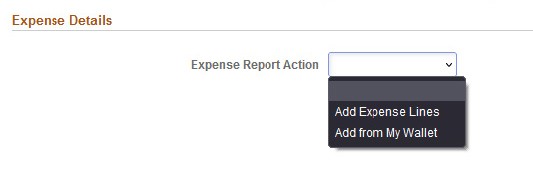
- Click the “Expense Report Action” field and select “Add Expense Lines” to progress to the next screen and start entering expenses.
- Enter the “Date” that the expense occurred; this should match the date of the transaction on the corresponding receipt.
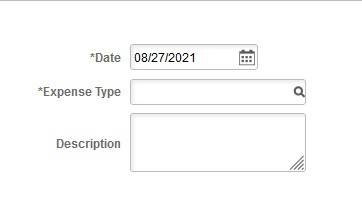
Note: The “Date” field will contain the current date by default and will need to be changed to match transaction date.
- Using the magnifying glass in the “Expense Type” field, choose the expense type that most closely matches your expense.
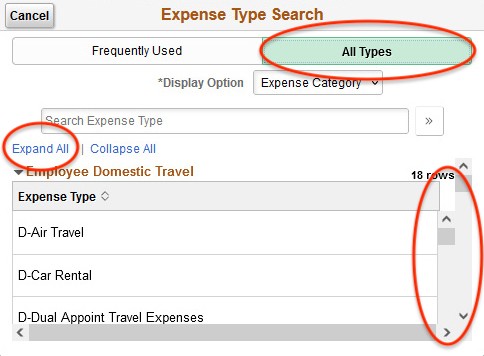
Note: Expenses incurred during domestic travel will have an expense type starting with “D-;” International travel starting with “I-;” Non-travel expense types start with “O-;” Food expense types start with “F-.” You may need to click “All Types” and “Expand All” to see all available expense types. There are also two scroll bars on the right-hand side, which can cause confusion when scrolling options.
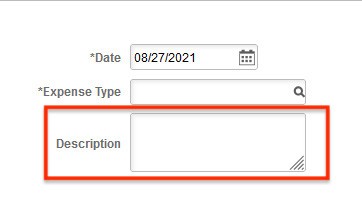
- Enter a brief description of the expense into the “Description” field.
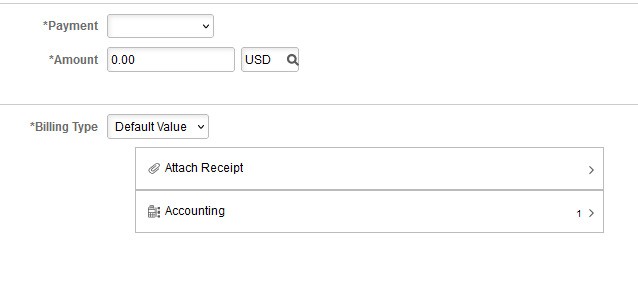
- From the”Payment” drop-down menu, select “Employee Paid.”
- Enter the expense “Amount“.
- Click “Attach Receipt” and attach a copy of your paid receipt. Receipts must indicate that an expense has been paid in full. Attach necessary supporting documentation here. Meals require attendee lists.
- No action is needed for the “Accounting” section on this part of expense report.
- Some expenses require merchant details. If prompted, indicate the preferred “Merchant” from the drop-down menu. If merchant is not listed, select Non-Preferred merchant and enter name of merchant manually.

- If you need to submit multiple expenses on the same report, click on “Add” at the top left of the screen, and repeat steps 12-18.
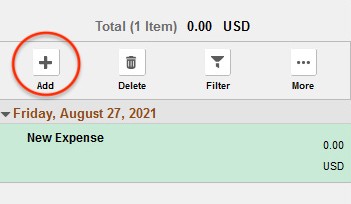
Note: Expenses of different types and/or incurred on different dates must be entered separately onto an expense report–please do not combine such expenses.
SAVE REPORT

- Click “Save.”
Note: If you receive the pictured error message, it may indicate that your Accounting Default contains a blank “Bud Ref” field. Please click “Accounting Defaults” and verify the current fiscal year is entered in the “Bud Ref” field. Otherwise, contact your business manager for additional accounting information.

- Click “Review and Submit.”
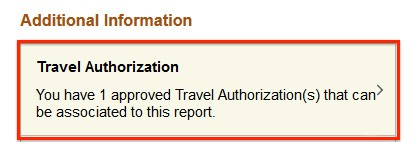
- If this is a travel-related expense report and you have an approved travel authorization, you will be presented the option to associate a travel authorization. Please click and choose the corresponding travel authorization in order to associate it.
- Click the “Submit” button to submit your expense report. If you receive an error, please follow prompts to complete required information. If you have completed required sections, more accounting information is most likely needed, and your business manager can assist you.
